Git Installation
Install Git on Windows
-
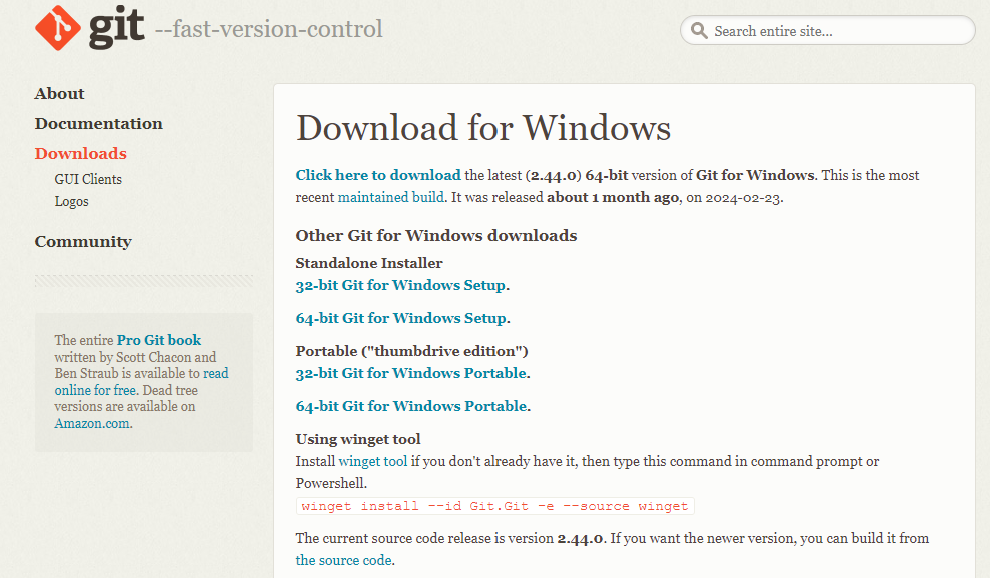
Go to this link: Download for Windows
-
Select your installer, for my case, I’m selecting 64-bit Git for Windows Setup.

-
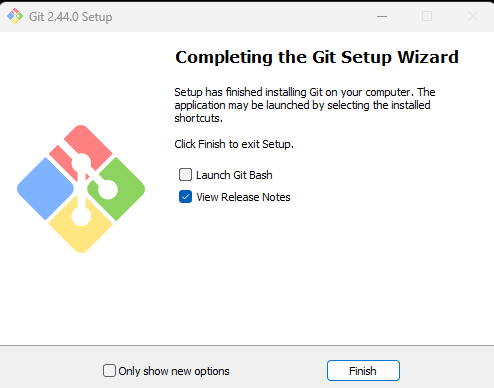
Open the downloaded exe file and follow the instructions. I put all options as default.

-
After you have done the installation. Open your terminal and enter the following command.
git --versionIt will show the latest Git version that you have installed.
-
Configure your Git username and email. Remember to replace the name and email with your own. Any commits you make will include these details.
git config --global user.name "Kar Chun"
git config --global user.email "karchuntan.1999@gmail.com"
Install Git on Ubuntu/Linux
The typical way of installing Git, will not install the latest version. With the following commands, it will help you to install the latest Git.
-
Install stable Git version
sudo add-apt-repository ppa:git-core/ppa sudo apt-get update sudo apt-get install -y git -
Check Git version
git --version -
Configure your Git username and email. Remember to replace the name and email with your own. Any commits you make will include these details.
git config --global user.name "Kar Chun"
git config --global user.email "karchuntan.1999@gmail.com"