
Kar Chun Tan
Creator
Metadata
Sphinx Documentation
In this tutorial, we will explore how to create and manage documentation using Sphinx, a powerful documentation generator for projets.
What is Sphinx?
Sphinx is a documentation generator for Python projects, and it is widely used for creating intelligent and beautiful documentation. It converts reStructuredText files into various output formats, including HTML and PDF. Sphinx is highly extensible and supports various plugins and themes, making it a popular choice for both small and large projects.
Getting Started with Sphinx
Install Sphinx
Installation Methods
To get started, you need to install Sphinx, which can be done using different methods. I'm going to use uv to install Sphinx for this tutorial, but you can also use pip or conda.
uv init --bare
uv add sphinx

# Verify the installation
uv run sphinx-build --version
Create a New Sphinx Project
To create a new Sphinx project, you can use the sphinx-quickstart command. This command will guide you through the setup process like setting up a source directory and creates a default configuration file conf.py.
uv run sphinx-quickstartHere is the sample output of the command:
(sphinx-tutorial) PS C:\Users\karchunt\Desktop\All\sphinx-tutorial\new> uv run sphinx-quickstart
Welcome to the Sphinx 8.2.3 quickstart utility.

Please enter values for the following settings (just press Enter to
accept a default value, if one is given in brackets).

Selected root path: .

You have two options for placing the build directory for Sphinx output.
Either, you use a directory "_build" within the root path, or you separate
"source" and "build" directories within the root path.
> Separate source and build directories (y/n) [n]: n

The project name will occur in several places in the built documentation.
> Project name: sphinx-tutorial
> Author name(s): karchunt
> Project release []:

If the documents are to be written in a language other than English,
you can select a language here by its language code. Sphinx will then
translate text that it generates into that language.

For a list of supported codes, see
https://www.sphinx-doc.org/en/master/usage/configuration.html#confval-language.
> Project language [en]:

Creating file C:\Users\karchunt\Desktop\All\sphinx-tutorial\new\conf.py.
Creating file C:\Users\karchunt\Desktop\All\sphinx-tutorial\new\index.rst.
Creating file C:\Users\karchunt\Desktop\All\sphinx-tutorial\new\Makefile.
Creating file C:\Users\karchunt\Desktop\All\sphinx-tutorial\new\make.bat.

Finished: An initial directory structure has been created.

You should now populate your master file C:\Users\karchunt\Desktop\All\sphinx-tutorial\new\index.rst and create other documentation
source files. Use the Makefile to build the docs, like so:
   make builder
where "builder" is one of the supported builders, e.g. html, latex or linkcheck.
Build a live documentation
Once you have created your Sphinx project, I always recommend using sphinx-autobuild to build a live documentation. It will automatically rebuild the documentation and refresh the browser whenever you make changes to the source files.
uv add sphinx-autobuild
uv run sphinx-autobuild <source-dir> <output-dir>
uv run sphinx-autobuild ./ output
Here is the sample output of the command:
(sphinx-tutorial) PS C:\Users\karchunt\Desktop\All\sphinx-tutorial\new> uv run sphinx-autobuild ./ output
[sphinx-autobuild] Starting initial build
[sphinx-autobuild] > python -m sphinx build ./ output
Running Sphinx v8.2.3
loading translations [en]... done
loading pickled environment... done
building [mo]: targets for 0 po files that are out of date
writing output...
building [html]: targets for 0 source files that are out of date
updating environment: 0 added, 0 changed, 0 removed
reading sources...
looking for now-outdated files... none found
no targets are out of date.
preparing documents... done
copying assets...
copying static files...
Writing evaluated template result to C:\Users\karchunt\Desktop\All\sphinx-tutorial\new\output\_static\language_data.js
Writing evaluated template result to C:\Users\karchunt\Desktop\All\sphinx-tutorial\new\output\_static\alabaster.css
copying static files: done
copying extra files...
copying extra files: done
copying assets: done
generating indices... genindex done
writing additional pages... search done
dumping search index in English (code: en)... done
dumping object inventory... done
build succeeded.

The HTML pages are in output.
[sphinx-autobuild] Serving on http://127.0.0.1:8000
[sphinx-autobuild] Waiting to detect changes...
Open your web browser and navigate to http://127.0.0.1:8000. You should see the default Sphinx documentation page.
Document your project
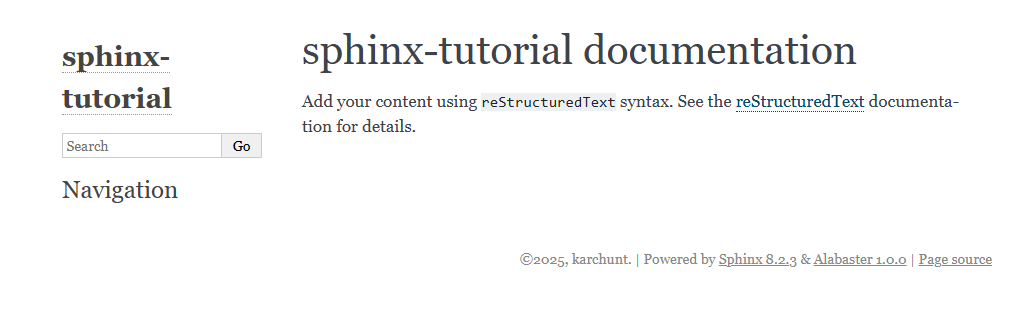
Now you can start documenting your project by editing the index.rst file and adding more .rst files as needed. I will only cover some basic content here.
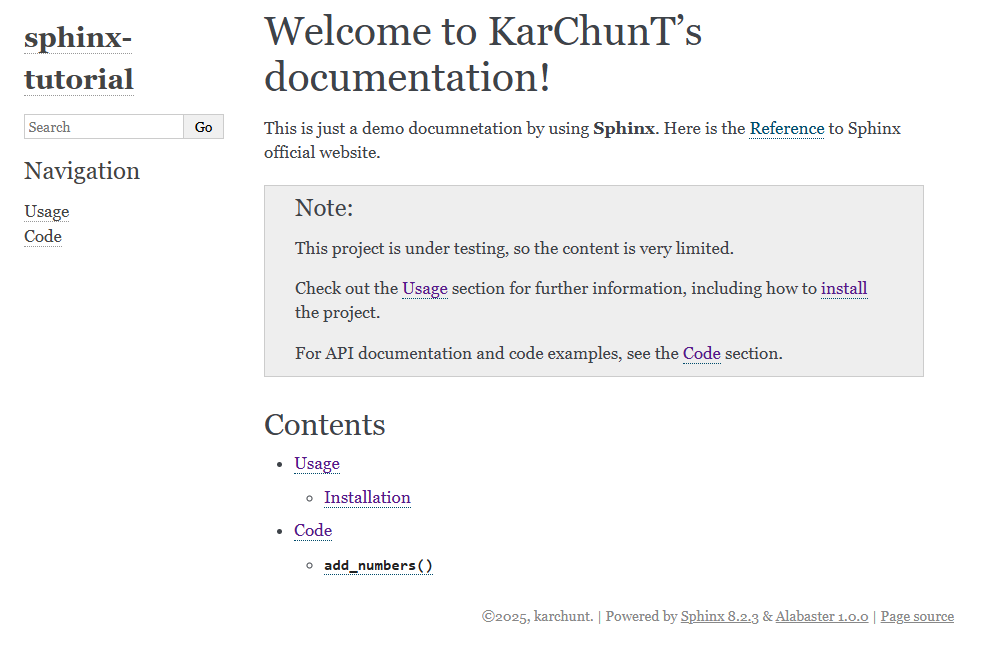
Welcome to KarChunT's documentation!
====================================

This is just a demo documnetation by using **Sphinx**. Here is the `Reference <https://www.sphinx-doc.org/en/master/>`_ to Sphinx official website.

.. note::

  This project is under testing, so the content is very limited.

  Check out the :doc:`docs/usage` section for further information, including how to :ref:`install <installation>` the project.

  For API documentation and code examples, see the :doc:`docs/code` section.

Contents
--------

.. toctree::
  docs/usage
docs/codeUsage
=====
.. _installation:
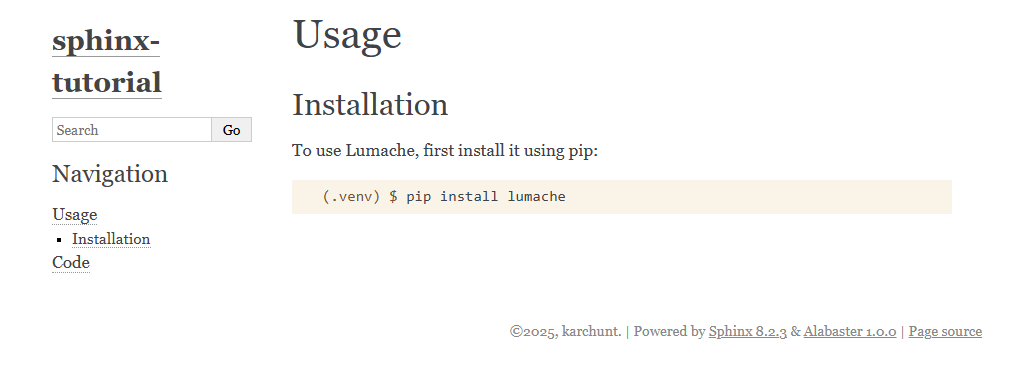
Installation
------------
To use Lumache, first install it using pip:
.. code-block:: console
(.venv) $ pip install lumacheCode
====
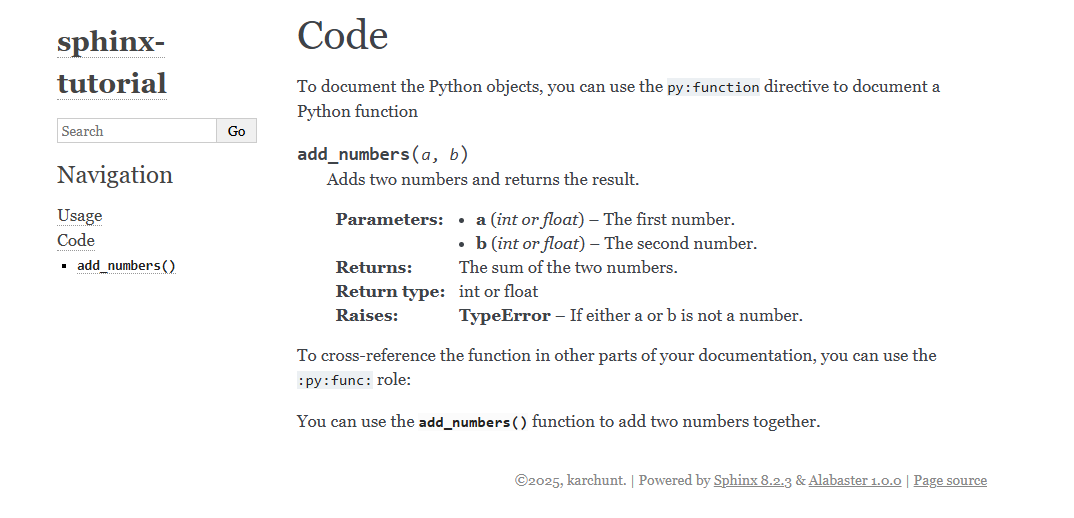
To document the Python objects, you can use the ``py:function`` directive to document a Python function
.. py:function:: add_numbers(a, b)
Adds two numbers and returns the result.
:param a: The first number.
:param b: The second number.
:type a: int or float
:type b: int or float
:return: The sum of the two numbers.
:rtype: int or float
:raises TypeError: If either a or b is not a number.
To cross-reference the function in other parts of your documentation, you can use the ``:py:func:`` role:
You can use the :py:func:`add_numbers` function to add two numbers together.Here are some screenshots of the generated documentation:
[Optional] Customize the theme
Sphinx comes with several built-in themes, and you can also install third-party themes to customize the look and feel of your documentation. In this tutorial, I'm going to use the popular theme called readthedocs.
To use the readthedocs theme, first you need to install it.
uv add sphinx_rtd_themeAfter installing the theme, you need to update the conf.py file to use the readthedocs theme.
extensions = [
...
'sphinx_rtd_theme',
]
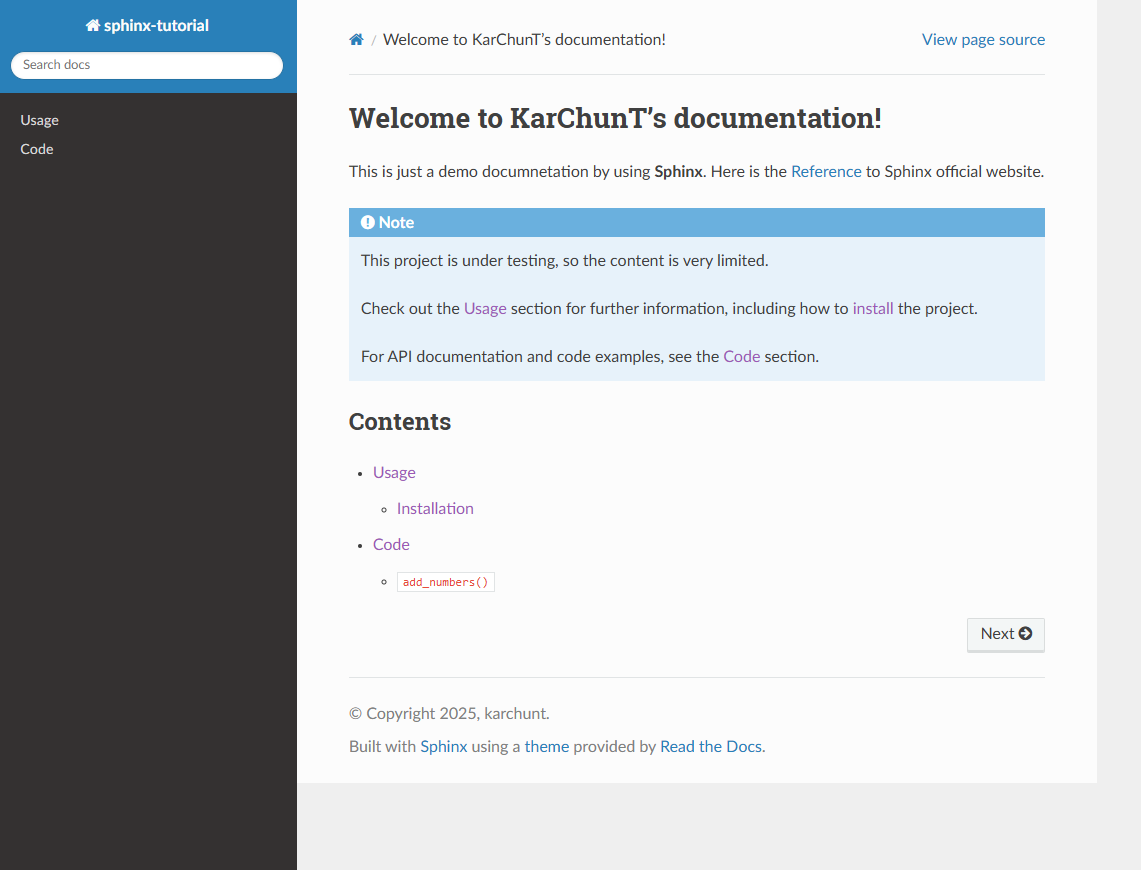
html_theme = "sphinx_rtd_theme"Here is the sample screenshot of the readthedocs theme:
Build the documentation
Once you have added your content and customized the theme, you can build the documentation in multiple ways.
References
uv run sphinx-build -M <buildername> <source-dir> <output-dir>

# example
uv run sphinx-build -M html ./ output

# or you can use the Makefile (Linux/Mac)
make <buildername>

# or you can use the Makefile (Windows)
./make.bat <buildername>
After building the documentation, you can choose to host it on various platforms, such as GitHub Pages, Read the Docs, or your own web server. Here is the official guide on how to publish your sphinx docs.