Steps to setup self-hosted GitHub runner
With self-hosted runners, you can create custom hardware configurations that meet your needs with processing power or memory to run larger jobs, install software available on your local network, and choose an operating system not offered by GitHub-hosted runners. — GitHub
References
-
Go to your repository in GitHub.
-
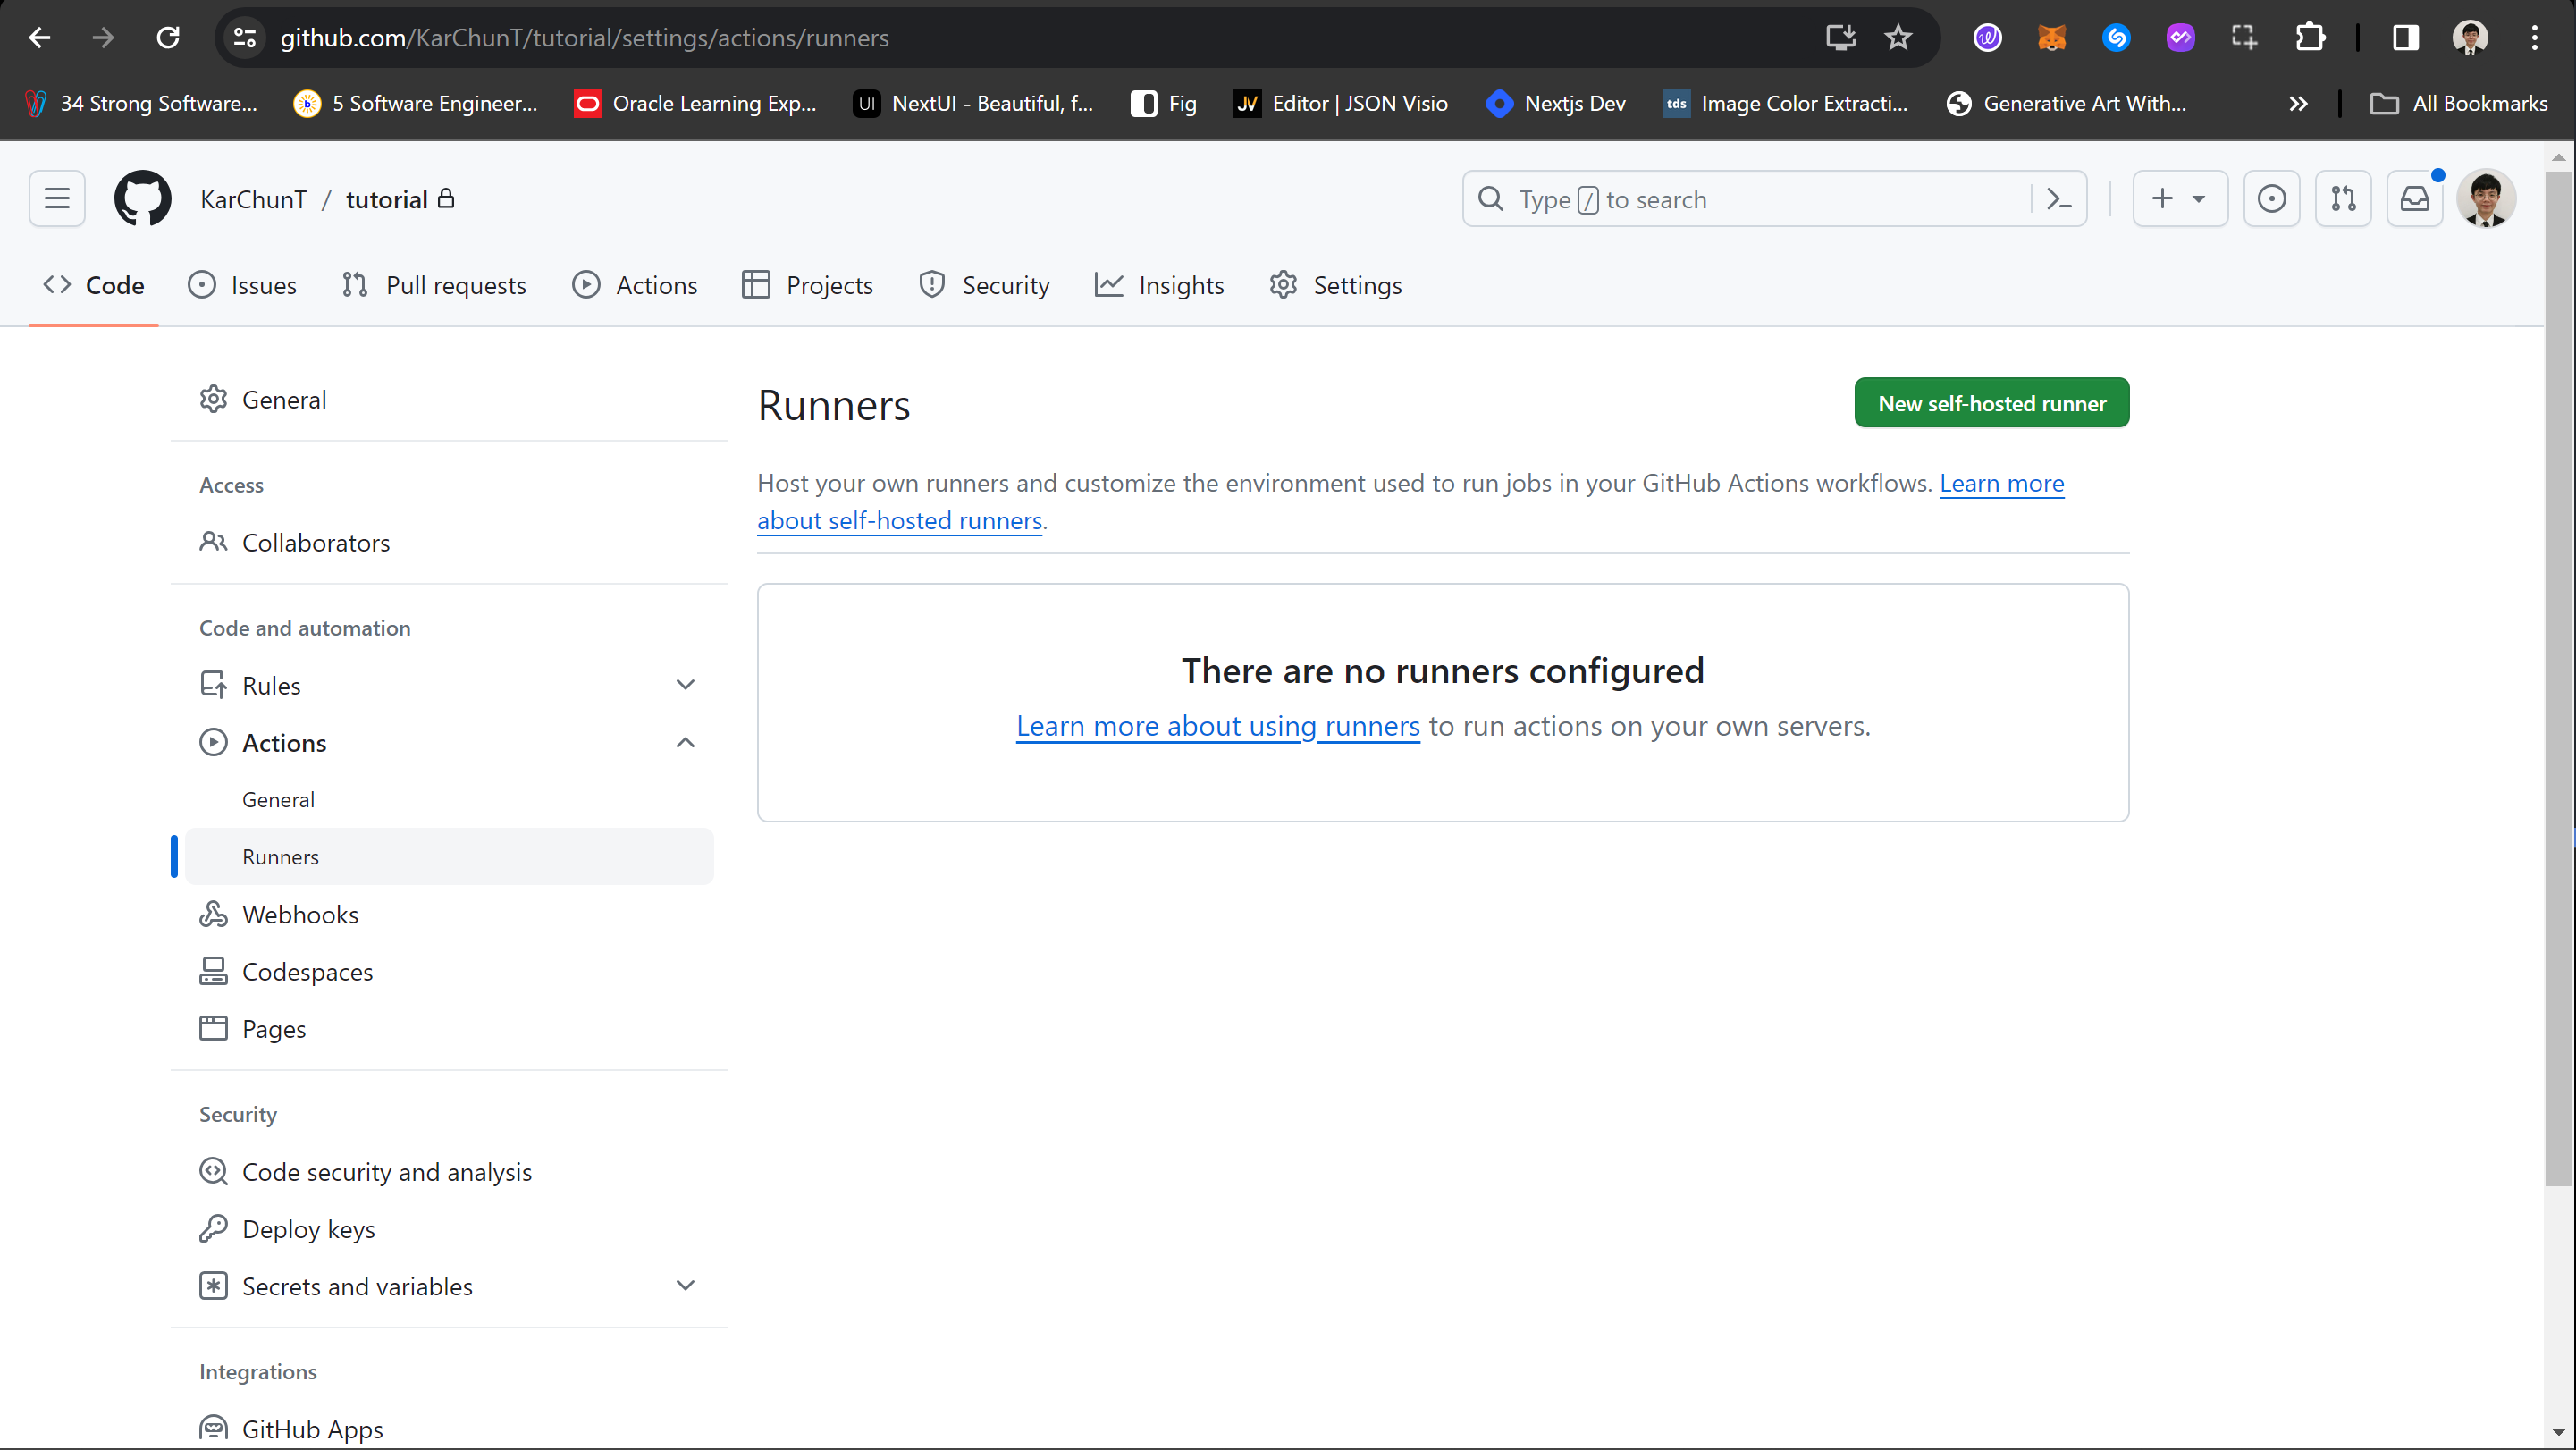
In Settings > Actions > Runners, click on New self-hosted runner button.
-
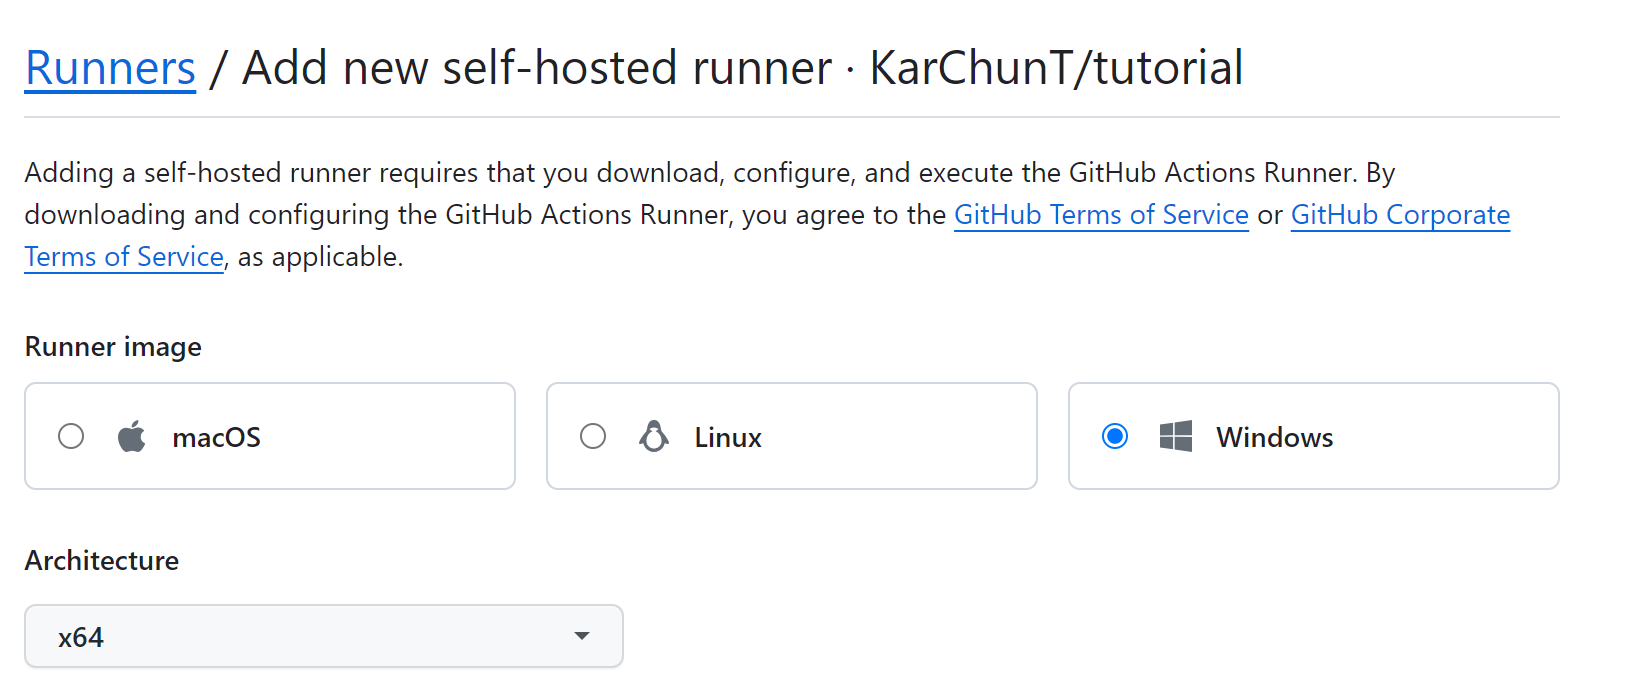
Choose Runner Image and Architecture. Do take note that, the architecture is based on your device specifications. For my case is x64.
-
Download the necessary files. You can find all these commands on the same page where you select Runner Image and Architecture.
Windows Runner
# Create a folder under the drive root
mkdir actions-runner; cd actions-runner

# Download the latest runner installer file

Invoke-WebRequest -Uri https://github.com/actions/runner/releases/download/v2.311.0/actions-runner-win-x64-2.311.0.zip -OutFile actions-runner-win-x64-2.311.0.zip

# Extract the installer

Add-Type -AssemblyName System.IO.Compression.FileSystem ; [System.IO.Compression.ZipFile]::ExtractToDirectory("$PWD/actions-runner-win-x64-2.311.0.zip", "$PWD")
Linux Runner
# Create a folderr under drive root
mkdir actions-runner && cd actions-runner

# Download the latest runner installer file
curl -o actions-runner-linux-x64-2.311.0.tar.gz -L https://github.com/actions/runner/releases/download/v2.311.0/actions-runner-linux-x64-2.311.0.tar.gz

# Extract the installer
tar xzf ./actions-runner-linux-x64-2.311.0.tar.gz
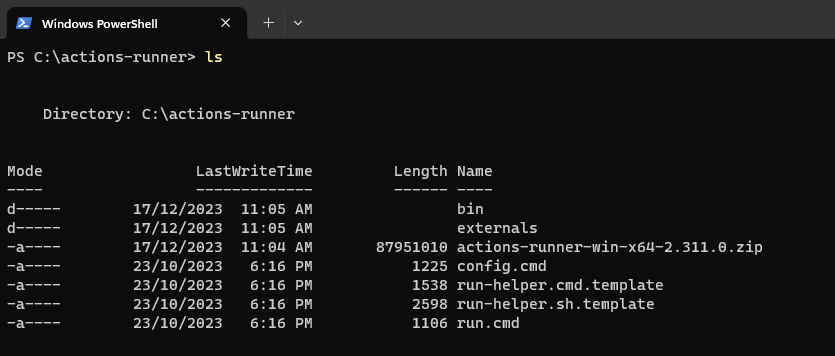
Here is the output after executing all these commands.
-
Configure and start the runner.
Windows Runner
# Configure the runner
./config.cmd --url <github-repo-url> --token <token> --labels <lists-of-label>

# Start the runner
./run.cmd
Linux Runner
# Configure the runner
./config.sh --url <github-repo-url> --token <token> --labels <lists-of-label>

# Start the runner
./run.sh
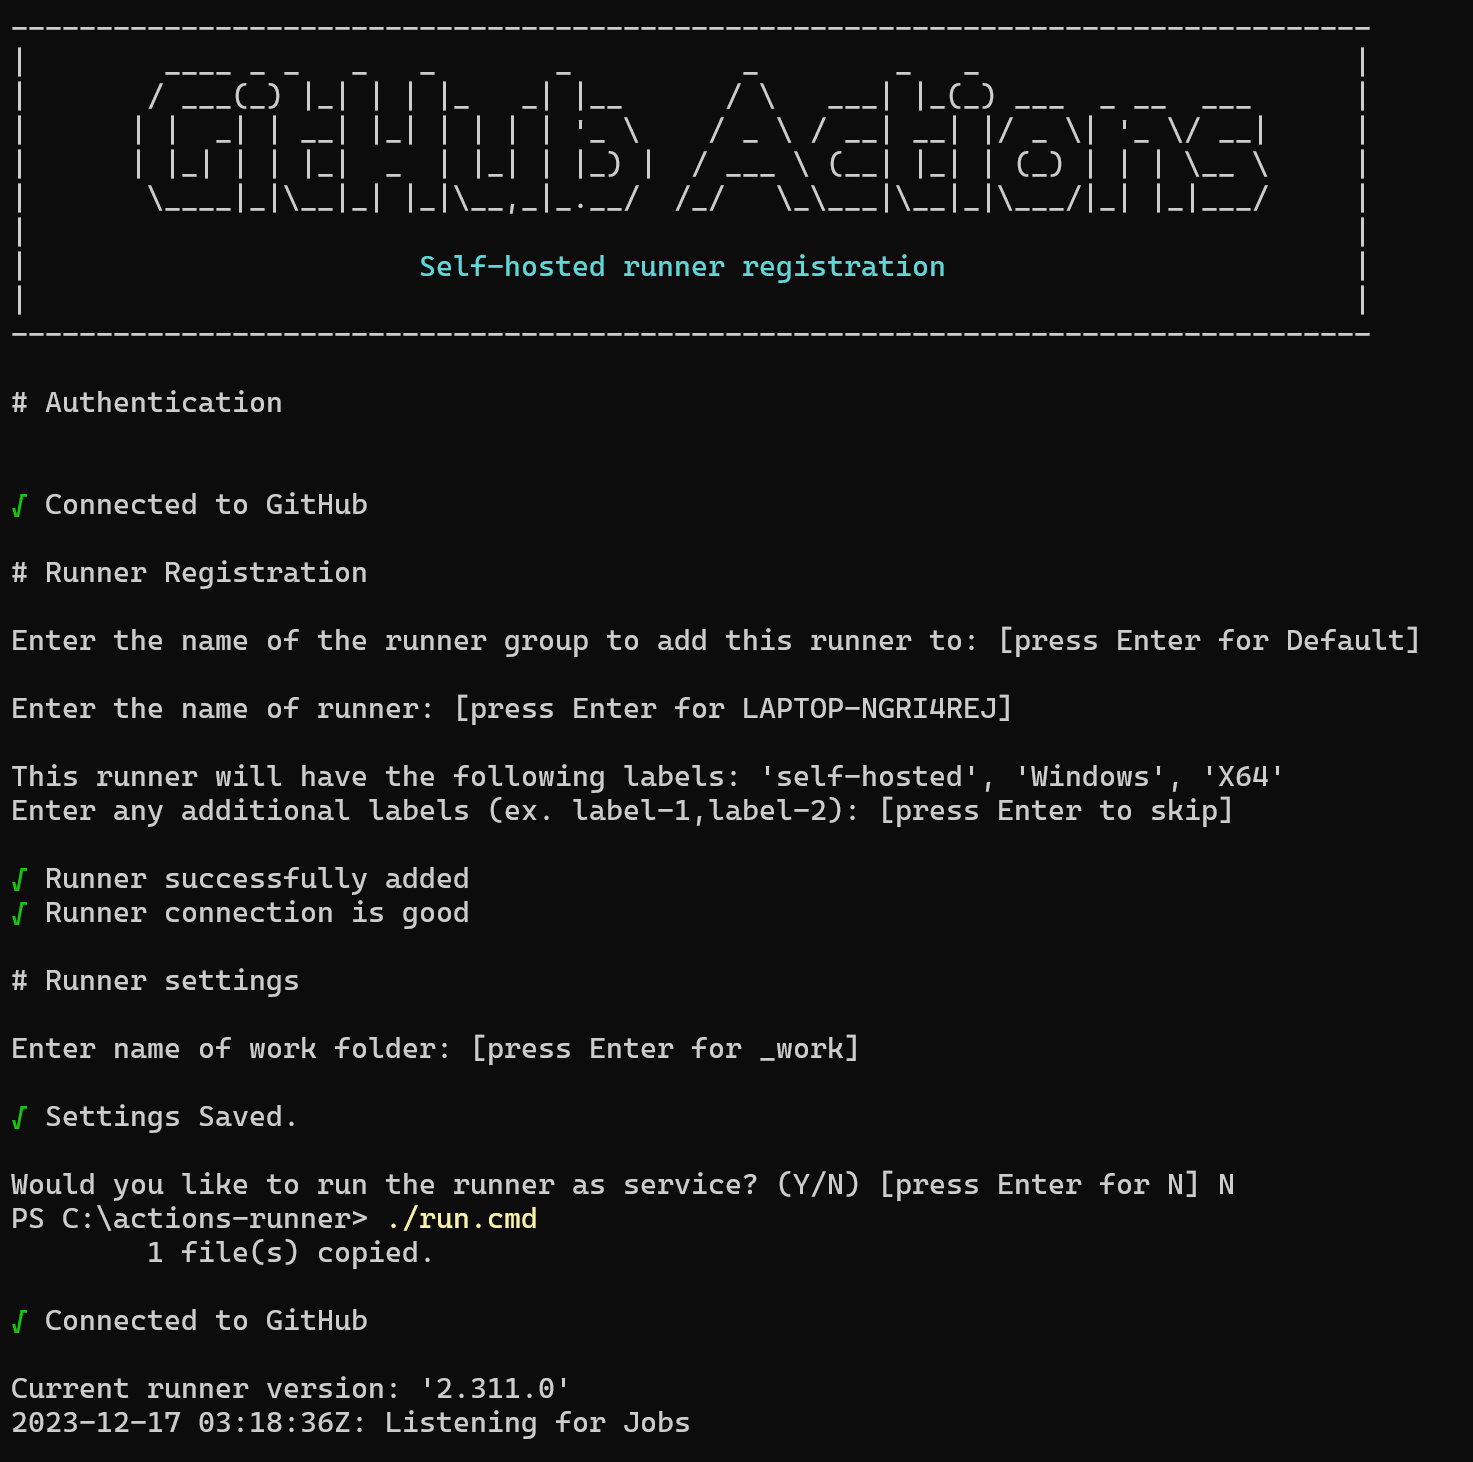
Programmatically assign labels to a self-hosted runner is optional. Here is the sample configuration of the runner.
Verify your runner being setup.

-
Using your self-hosted runner. Create a new file under
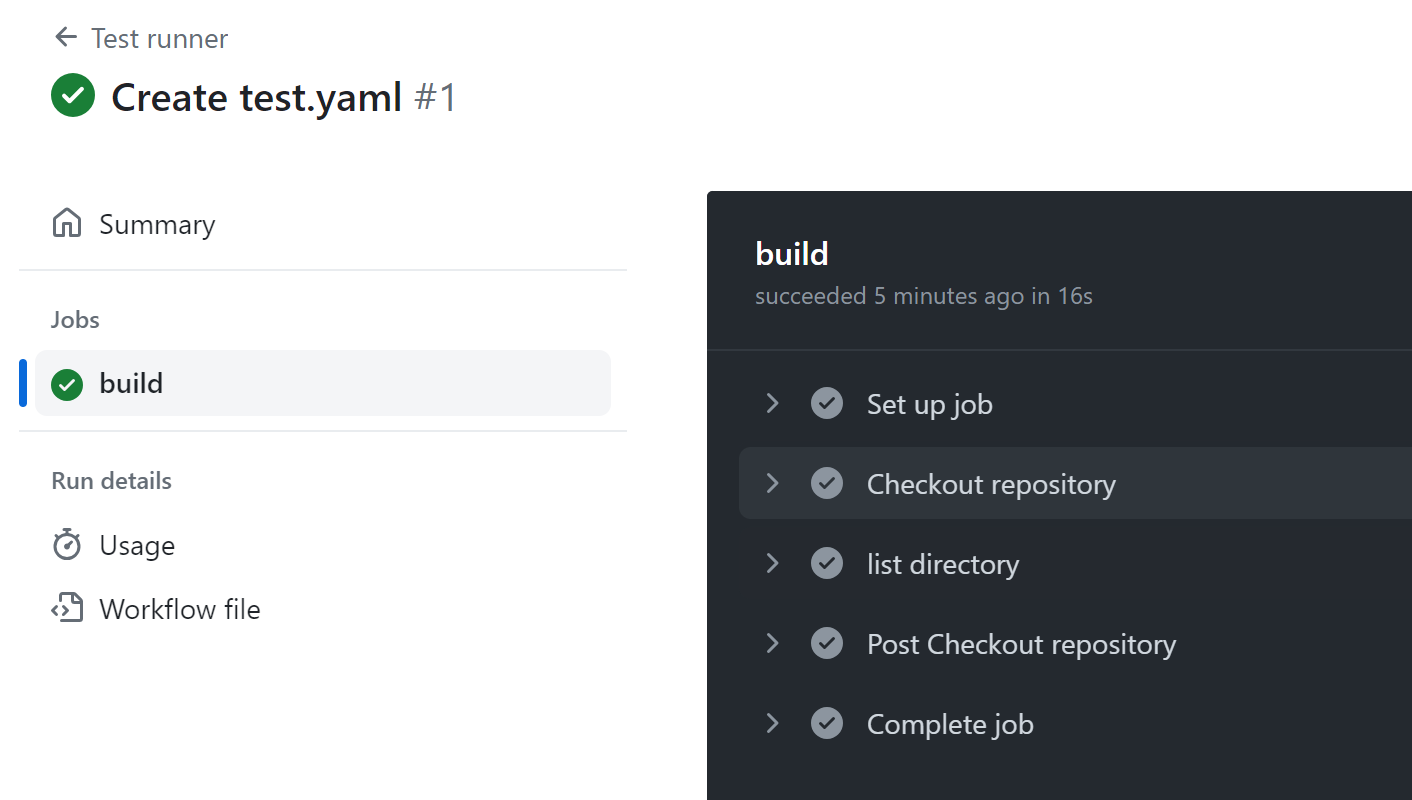
.github/workflows/test.yaml.name: Test runner on: push: jobs: build: runs-on: ["self-hosted"] steps: - name: Checkout repository uses: actions/checkout@v4 - name: list directory run: lsHere is the output after all the CI jobs are completed.
-
Optional: You can configure the self-hosted runner application as a service
