What is Multipass?
Multipass is a lightweight VM manager that allows you to create and manage Ubuntu virtual machines (VMs) on your local machine. It provides a simple command-line interface to launch, configure, and manage VMs, making it easy to work with Ubuntu environments without the overhead of traditional virtualization solutions.
Installation
Manual Installation
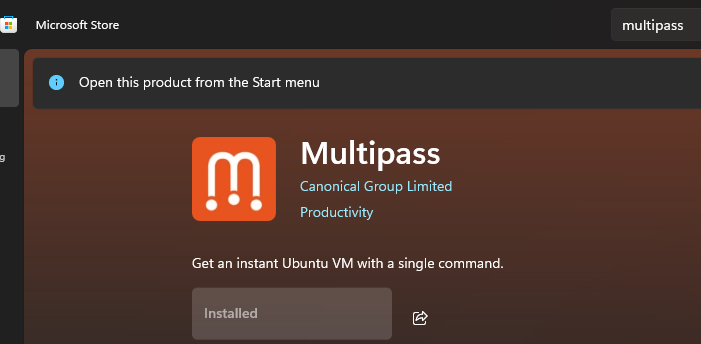
Install from the Microsoft Store
Download and install Multipass from the Microsoft Store.
What I experienced?
Note
Based on my experience, I don't recommend setting up Multipass on Windows, as it tends to consume a lot of CPU resources, especially the multipassd process.
When I first installed Multipass on Windows, I encountered some issues
- Unable to launch instances due to using the Hyper-V virtualization backend. I had tried to enabled Hyper-V in the Windows Features, unfortunately, it didn't work as expected on my machine. Therefore, I had to switch to the VirtualBox backend.
- Unable to shell, ssh, or exec into the VM instance when you're on VPN network like Cisco GlobalProtect. I had tried to route the VPN traffic from host to VM using
route addcommand, but it didn't work as expected. This probably need company IT team to provide the subnet and open the subnet. Here are the references where you can route multipass VM traffic over VPN. - Unable to ping the VM instance IP from the host machine when you're on VPN network.
My intentation here is to use Multipass on Windows to create a VM instance and then use it for testing purposes, such as running a web server that I can access from the host machine. So, in this blog, I will show you how I did it but I still unable to ping the VM instance IP from the host machine when you're on VPN network.
How I setup a VM instance?
If you haven't read "What I experienced". It's okay, here is the summary, create a VM instance that can do port-forwarding to the host machine over VPN network.
Install VirtualBox and PsTools
Download and install VirtualBox from the official website.
Make sure you install VirtualBox driver as administrator.
Download and install PsTools from the official website.
Make sure you add the PsTools directory to your system PATH or environment PATH so that you can use the following tools in the command line. Basically, we will use PsTools to see the VM instances in VirtualBox, as Multipass runs
as the System account.
Use VirtualBox as the driver
References
By default, Multipass uses Hyper-V as the virtualization backend on Windows. To use VirtualBox instead, you need to specify it as the driver when launching instances.
multipass set local.driver=virtualboxIf you faced Waiting for Daemon to start error, you can force kill the service. You can understand more about this in the Multipasas Service Stuck for windows
Get-WmiObject win32_service | Where-Object { $_.Name -eq "Multipass" } | Select-Object ProcessId
Stop-Process -Id <PID> -Force
Set Bridged Network
To allow the VM to communicate with the host machine and other devices on the network, you need to set up a bridged network. This allows the VM to obtain an IP address from the same network as the host.
First, find your networks.
PS C:\Users\karchunt> multipass networks
Name         Type       Description
Ethernet 5   ethernet   Lenovo USB Ethernet
Wi-Fi        wifi       Intel(R) Wi-Fi 6 AX201 160MHz
In this case, I will use Wi-Fi as the network interface, that's because I'm using Wi-Fi to connect to the internet, so the VM will get the same network segment as the host machine.
multipass set local.bridged-network="Wi-Fi"Launch a VM instance
Here, I'm going to show you with/without SSH setup, you can choose either one that suits your needs.
If you want to launch a VM instance, make sure you set bridged network to create a bridge between the host and the VM.
Access the VM instance
Note
When you're able to access the VM instance, when you try to curl, you might not able to curl it, this is because you're on a VPN network even you do not route the VPN traffic to the VM instance. To be able to curl, you have to export the http_proxy, https_proxy, or no_proxy environment variables to the VM instance.
There are multiple ways to access the VM instance, you can use multipass shell, multipass exec, or ssh command (If you setup SSH). Here are the examples:
multipass shell primary
multipass exec primary -- bash
For SSH access, since we're in proxy (VPN) environment, we cannot direct SSH into the IP address of the VM instance. Therefore, we need to port-forward the SSH port to the host machine, also we have to use localhost instead of IP address of the VM instance. Normally, the VM instance already automate port-forwarding the SSH port to the host machine, but if it doesn't work, you can manually set it up.
To see the port-forwarding configuration, you have to use the PsTools to launch VirtualBox GUI. Remember to launch the PowerShell or Command Prompt as Administrator.
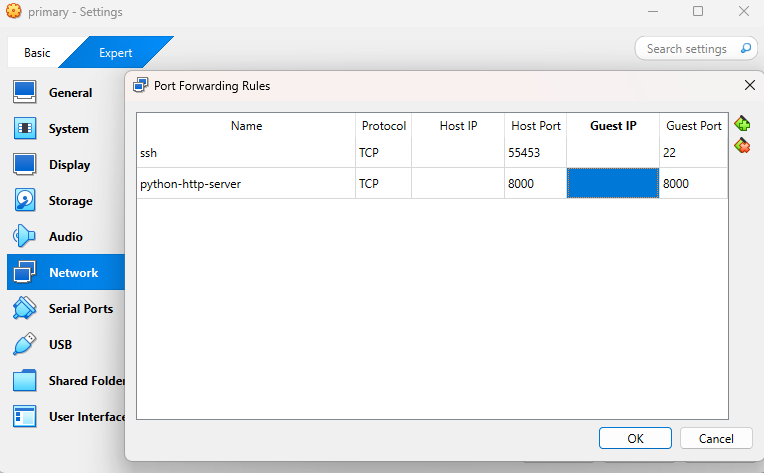
PsExec -s -i $env:VBOX_MSI_INSTALL_PATH\VirtualBox.exeThe direction here is to select your VM instance, go to Settings > Network > NAT Adapter Network > Port Forwarding.
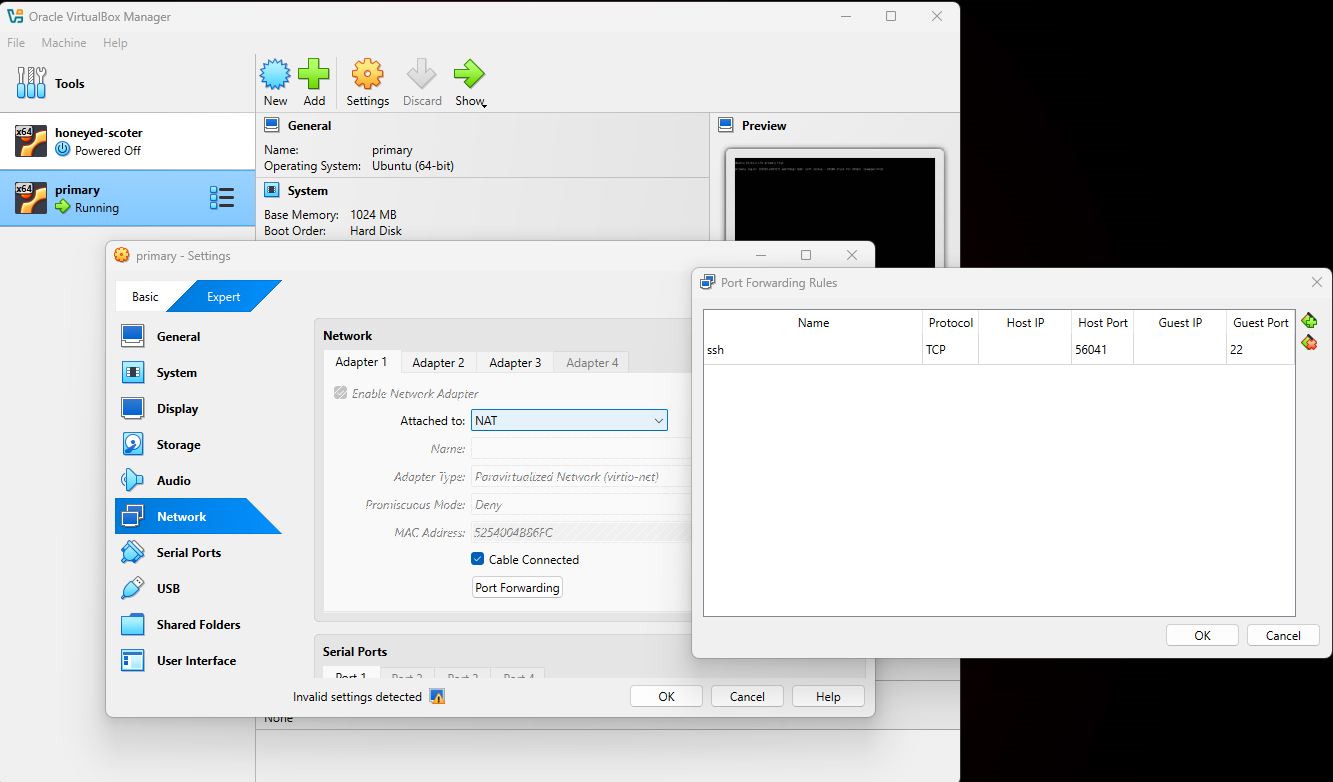
ssh <username>@localhost -i "<private key path>" -o StrictHostKeyChecking=no -p <port number>
ssh karchunt@localhost -i "C:\Users\karchunt\.ssh\multipass-ssh-key" -o StrictHostKeyChecking=no -p 56041
[Optional]: Launch a web server
You can launch a web server on the VM instance and access it from the host machine. FOr example, you can use python to launch a simple HTTP server.
multipass shell primary # access the VM instance
python3 -m http.server # it will expose port 8000
Now you need to port-forward the HTTP port to the host machine. There are two ways to do this, either using GUI or using PSTools.
PsExec -s $env:VBOX_MSI_INSTALL_PATH\VBoxManage.exe controlvm "<vm-name>" natpf1 "<any-name-you-like>,<protocol>,,<host-port>,,<vm-port>"

PsExec -s $env:VBOX_MSI_INSTALL_PATH\VBoxManage.exe controlvm "primary" natpf1 "myservice,tcp,,8000,,8000"
This will forward all TCP traffic from port 8000 on the host machine to port 8000 on the VM instance named primary. You can access the web server from your host machine using http://localhost:8000.
For more information, you can refer to the VirtualBox documentation.